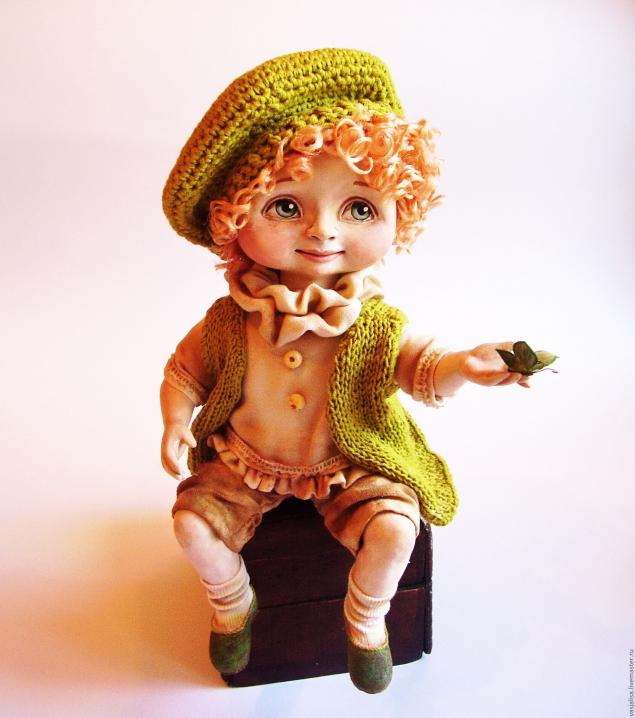
Part 3 of this
step-by-step tutorial from Russian artist Dyachenko Oksana shows how to sculpt and attach hands to the body we made in Part 2 and additional finishing steps. Lots of photos show the modeling of the hands with Creative Paperclay along with covering the arms and legs in the 'clay over cloth' technique. Shoes made of Paperclay are also modeled. The artist then tea-stains the clay to create a fleshtone and also adds color with acrylic paint where needed.
The final step for Part 3 is to create a body stocking from knitted material to neatly cover the stuffed body. Because clothing will be created in Part 4 that will cover the doll, the body stocking can be omitted. However, it is a nice, finishing touch that completes a well-made doll.
This series of tutorials is presented in Russian, please use
Google Translate (or your own favorite tool) to convert to your language.