Showing posts with label painting faces. Show all posts

Modeling a Doll with Paperclay, Part 4 of 4. Dressing & Posing


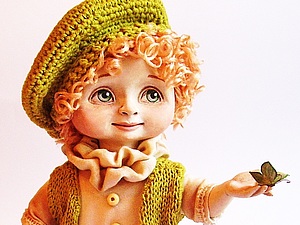
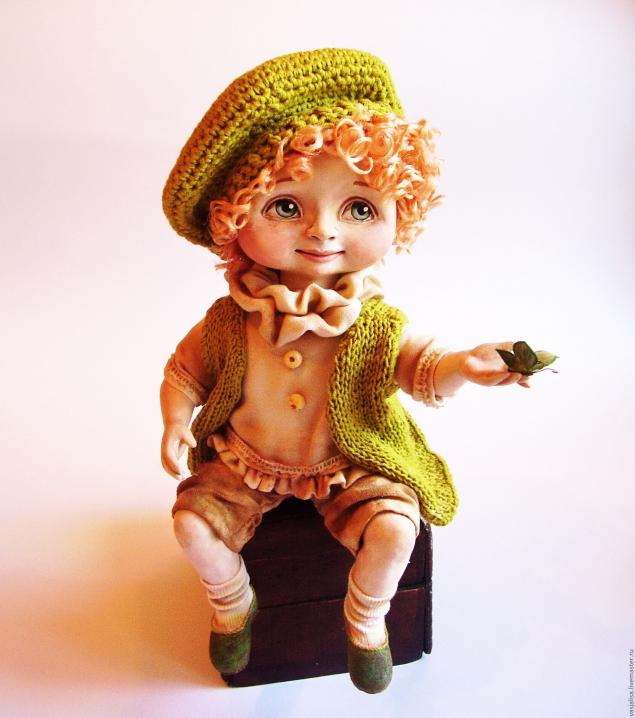
The final part of this step-by-step tutorial from Russian artist Dyachenko Oksana creates the clothing, shoes and props for posing the doll created in Parts 1-3. Lots of photos show how she applies fabric to the doll body, cuts to fit, and sews concealed seams directly on the doll.

Hope you've enjoyed this 4 part tutorial and the techniques presented to create this cute doll made of Creative Paperclay.   Cold porcelain and many other air-dry clay brands could be used in the same manner.

This series of tutorials is presented in Russian, please use Google Translate (or your own favorite tool) to convert to your language.


Modeling a Doll with Paperclay, Part 3 of 4, Finishing Body


Part 3 of this step-by-step tutorial from Russian artist Dyachenko Oksana shows how to sculpt and attach hands to the body we made in Part 2 and additional finishing steps.    Lots of photos show the modeling of the hands with Creative Paperclay along with covering the arms and legs  in the 'clay over cloth' technique.  Shoes made of Paperclay are also modeled.   The artist then tea-stains the clay to create a fleshtone and also adds color with acrylic paint where needed.

The final step for Part 3 is to create a body stocking from knitted material to neatly cover the stuffed body.  Because clothing will be created in Part 4 that will cover the doll, the body stocking can be omitted.  However, it is a nice, finishing touch that completes a well-made doll.

This series of tutorials is presented in Russian, please use Google Translate (or your own favorite tool) to convert to your language.
Modeling a Doll with Paperclay, Part 2 of 4. Armature & Body


This step-by-step doll tutorial from Russian artist Dyachenko Oksana describes her method for creating a sturdy body armature and increasing volume of the body with paper. (She says it's toilet paper but looks more like paper towels...LOL)   There's lots of photos showing how she stuffs and wraps armature with paper and then secures it with string before posing the doll.  The next tutorial in this series will create the hands and feet with Creative Paperclay.   If you missed it, the tutorial for modeling the head is here.


Modeling a Doll with Paperclay, Part 1 Head


This step-by-step tutorial from Russian artist Dyachenko Oksana shows in great detail, with lots of photos, how to model a dolls head using Creative Paperclay.  Author also shows how she paints the face.  Additional tutorials will be posted soon for creating the body! .


Part 2 of 4. Armature & Body

Part 3 of 4, Finishing Body

Part 4 of 4. Dressing & Posing

Creating an Art Doll, Olga style, Pt. 7 of 7: Wig & Base


In this multi-part art doll demonstration, we've been following Olga Egupets as she shows us her techniques for making armatures, modeling faces, body parts and props, painting the doll and creating clothing.  This is Part 7, the final video in the series.  Olga finishes her doll by adding a wig using needle-felting techniques and wool roving.  Then she creates a leather-look display base from wood and paper and the doll with her new black dress is done!

Creating an Art Doll, Olga style, Pt. 6 of 7: Making the Clothes

Finished doll

In this multi-part art doll demonstration, Olga Egupets shows us her techniques from start to finish, demonstrating armatures, modeling faces, body parts and props, painting, wigging and creating clothing. When making her dolls, Olga uses a variety of materials, including air dry clays such as Creative Paperclay, LaDoll, Plastiform, Efaplast etc.   This doll has a sewing machine on her lap because she has just finished sewing herself a little black dress. This is Part 6 of 7, 'Making the Clothing'.

Creating an Art Doll, Olga style, Pt. 5 of 7: Making the Props

Painted doll at end of Part 4
In this multi-part art doll demonstration, Olga Egupets shows us her techniques from start to finish, demonstrating armatures, modeling faces, body parts and props, painting, wigging and creating clothing. When making her dolls, Olga uses a variety of materials, including air dry clays such as Creative Paperclay, LaDoll, Plastiform, Efaplast etc.

This is Part 5 of 7.  Please go here for Parts 1 and 2.  Part 3 is here and Part 4 is here.

Creating an Art Doll, Olga style, Pt. 4 of 7: Painting

Stage 3 finished!

In this multi-part art doll demonstration, Olga Egupets shows us her techniques from start to finish, demonstrating armatures, modeling faces, body parts and props, painting, wigging and creating clothing. When making her dolls, Olga uses a variety of materials, including air dry clays such as Creative Paperclay, LaDoll, Plastiform, Efaplast etc.

This is Part 4 of 7.  Please go here for Parts 1 and 2.  Part 3 is here   In the first 3 steps, Olga created her armature and body form, coated it with a layer of papier mache to give it bulk and gave it a smooth finish with a brushed-on top coat (finished doll at this stage is shown above).  She also finished modeling the face, hands and feet using LaDoll clay.

Make This Cute Bee in a Clay Pot


Eliana Braga has created a step by step photo tutorial showing you how to create this cute bee sitting in a clay pot with a few easy-to-make flowers. This was created with cold porcelain but almost any air-dry clay would be suitable. The softer brands of air-dry clay may be the best for this. Eliana also shows detail steps for painting the eyes and creating the sweet facial expression. 

Materials needed are cold porcelain or other air-dry clay in flesh, yellow, white, green and black; a styrofoam ball for head armature; a small clay pot; some black wire; basic modeling tools; white glue; a heart shaped cookie cutter and a fine point black marker.


Modeling a Character Face


This is a well done 14-minute video showing you how to model a Bubble Guppies character out of gumpaste.   The steps for creating with air-dry clay are exactly the same except you can use white glue where needed.   When crafting with clay, there's no need to worry about edible paints and such, just use regular acrylic craft paint to highlight the eyes and other details.

5 Steps to Painting a Cute Face


Fabi Simonetti, an acrylic artist from Brazil, demonstrates her technique for painting eyes and a cute face in 5 easy steps.  

How to Paint Eyebrows on Clay Doll


Sorry...this tutorial has been removed.
We'll keep trying to find if it has a new home.

This eyebrow painting tutorial by Paula is shown with a porcelain baby doll but technique applies to just about any doll.  Author says: "I find it easier to paint your brows looking down, with the doll head upside down. That makes you concentrate less on the placement and making them look like brows. "

If you have trouble deciding on placement or shape of brows, refer to this placement tip from liileah.

Sculpting Head and Face for BJD

~ click photos to enlarge ~    
Linda Macario, the Italian doll-maker, has written a wonderful tutorial for creating the head for a BJD (ball-jointed doll) .   LaDoll air-dry clay is suggested.  Creative Paperclay would also be suitable for this project.   Lots of photos demonstrate how to sculpt the Styrofoam core, apply the clay, model the facial features, hollow out the head & insert the eyes and also create the head articulation.